You Deserve Simpler Temperature Projects
One unified PCB and code examples for your DHT-11, DHT-22, BMP280 and DS18B20 temperature sensors.
The goal of this article is to help you take your first steps into the world of temperature sensing – there are so many options for sensors, boards, and displays that it can easily lead to decision paralysis. If you want to follow along, all you need is the Arduino IDE, a Raspberry Pi Pico, a temperature sensor and a I2C OLED. If you want to build it on the custom PCB, you have to make sure your RP2040 is a RP2040-Zero by Waveshare or a compatible clone.
What you will need:
Here is what you will need to get up and running with your very own temperature project – please note that some of these links are affiliate links and support the creator of this project at no extra cost to you.
- (optional) PCB:
- RP2040-Zero (or compatible):
- Aliexpress: https://s.click.aliexpress.com/e/_c3frVqPd
- Amazon (Canada): https://amzn.to/4mBsttp
- Amazon (USA & Global): https://amzn.to/48v5VXC
- DHT-11:
- Aliexpress: https://s.click.aliexpress.com/e/_c43S1Kqn
- Amazon (Canada): https://amzn.to/47FrmV2
- Amazon (USA & Global): https://amzn.to/47FrAeQ
- DHT-22:
- Aliexpress: https://s.click.aliexpress.com/e/_c3gRhZax
- Amazon (Canada): https://amzn.to/4no6yGd
- Amazon (USA & Global): https://amzn.to/474Z2vc
- BMP280:
- Aliexpress: https://s.click.aliexpress.com/e/_c43GkSrZ
- Amazon (Canada): https://amzn.to/4qgQf0G
- Amazon (USA & Global): https://amzn.to/4oxX5NF
- Dallas 18B20:
- Aliexpress: https://s.click.aliexpress.com/e/_c4SM0LqT
- Amazon (Canada): https://amzn.to/4qgQfOe
- Amazon (USA & Global): https://amzn.to/3WhrpQJ
- 0.96″ OLED Display (I2C):
- Aliexpress: https://s.click.aliexpress.com/e/_c4FMPfBh
- Amazon (Canada): https://amzn.to/4pym19f
- Amazon (USA & Global): https://amzn.to/4mzMhx8
- (optional) 4-Pin & 3-Pin Headers Male:
- Aliexpress: https://s.click.aliexpress.com/e/_c3w4opQf
- Amazon (Canada): https://amzn.to/4gBvNDv
- Amazon (USA & Global): https://amzn.to/3IonK07
- (optional) 4-Pin Headers Female:
- Aliexpress: https://s.click.aliexpress.com/e/_c44VEN1d
- Amazon (Canada): https://amzn.to/3KjBidO
- Amazon (USA & Global): https://amzn.to/3Ib8Bze
- (optional) Jumper Cap:
- Aliexpress: https://s.click.aliexpress.com/e/_c34cqMEF
- Amazon (Canada): https://amzn.to/4gBNB17
- Amazon (USA & Global): https://amzn.to/4pKms0j
- (optional) AMS1117-3.3 3.3v Regulator:
- Aliexpress: https://s.click.aliexpress.com/e/_c41q77Kr
- Amazon (Canada): https://amzn.to/4nhxXuf
- Amazon (USA & Global): https://amzn.to/42b01Hs
- (optional) 0805 Capacitors 100nF:
- Aliexpress: https://s.click.aliexpress.com/e/_c4bZ3vUT
- Amazon (Canada): https://amzn.to/4pDUfIl
- Amazon (USA & Global): https://amzn.to/4nE6nay
- (optional) 5mm O.D. x 4mm H x m3 Heat-set Insert (for case):
- Aliexpress: https://s.click.aliexpress.com/e/_c3J6lGJN
- Amazon (Canada): https://amzn.to/4mwc4GE
- Amazon (USA & Global): https://amzn.to/4gDXV8Z
- (optional) m3 X 10mm Screw (for case):
- Aliexpress: https://s.click.aliexpress.com/e/_c4ntaKeL
- Amazon (Canada): https://amzn.to/4nlKblM
- Amazon (USA & Global): https://amzn.to/3IwyWrx
- (optional) m2 X 6mm Self-Tapping Screw (for case):
- Aliexpress: https://s.click.aliexpress.com/e/_c3K1W5v5
- Amazon (Canada): https://amzn.to/4nidBkF
- Amazon (USA & Global): https://amzn.to/4muZszi
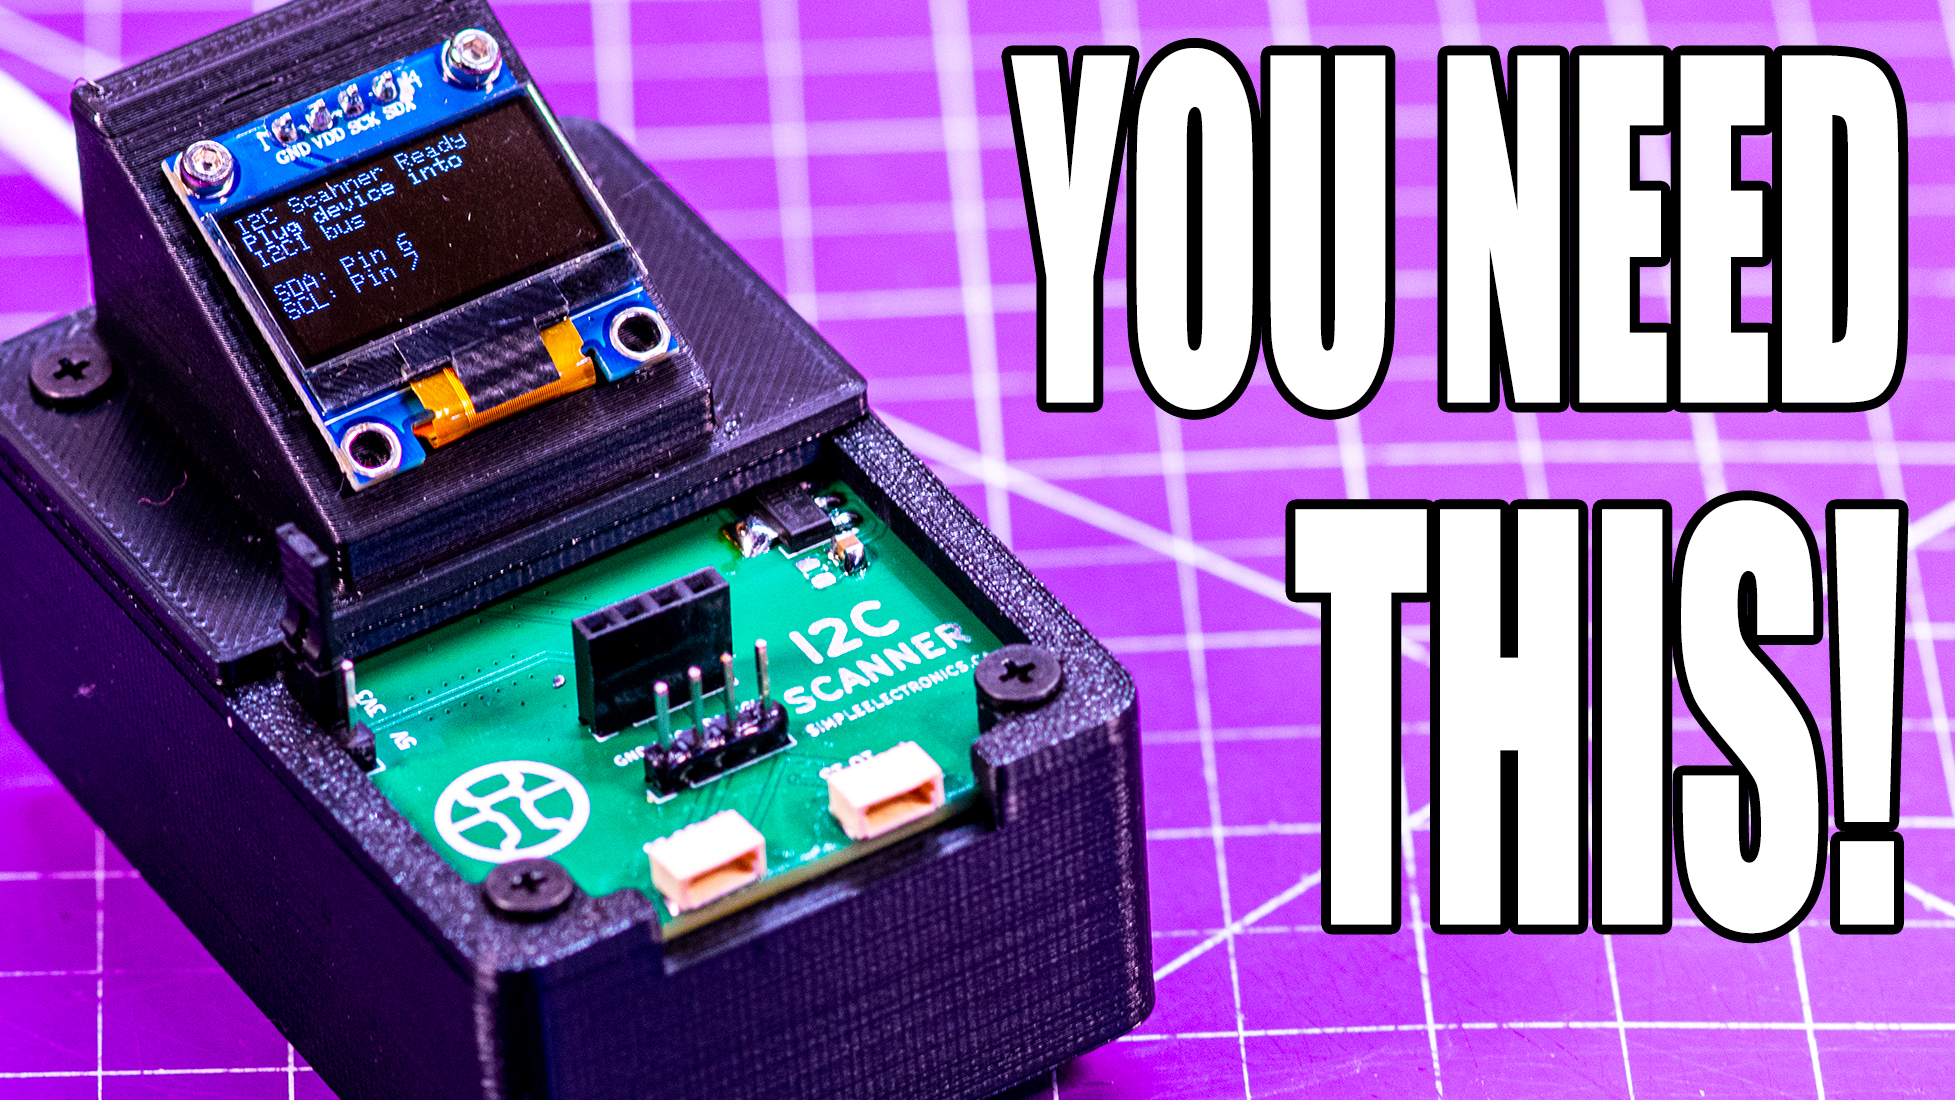
Connection diagram
No connection diagram needed this time, they are included in the opening comments of the code for any of the sensors – on top of that, the GPIO is common to all the RP2040/pi pico boards so they will work if you’re just breadboarding them as well!
DHT-11
/*
This code will grab sensor data from a DHT-11 with its
specific protocol and display it on a SSD1306 128x64 i2c OLED.
This has been tested on a RP2040-Zero on 07/09/2025 and was
working as intended.

Pinout:
 --- DHT-11 ---
   _______
   |      |
   |DHT-11|
   |      |
   --------
    | | | |
    1 2 3 4

Pin 1 = 3.3V (3v3 pin - RP2040-Zero's internal regulator)
Pin 2 = GP2
Pin 3 = N/C - no connection, this pin does nothing
*Note* a 4.7k pull-up resistor might be needed on GP2
       the one I tested had one built into the module
*Note 2* You may have a 3-pin module with a DHT-11 soldered to
        it already - if so, just match the silkscreen to your micro

 --- OLED ---
VCC = 3.3V (3v3 pin - RP2040-Zero's internal regulator)
GND = GND (GND pin on RP2040-Zero)
SCL = GP5 (default)
SDA = GP4 (default)

This code is written by Dan from the Simple Electronics YouTube
channel and is mostly a mashup of library examples and has been
over-commented to be beginner-friendly for all to use.
https://www.youtube.com/SimpleElectronics

The code contributed by Dan is open-source under the MIT Licence
however, the libraries retain their own licensing

Copyright <2025> <Dan, Simple Electronics>

Permission is hereby granted, free of charge, to any person obtaining
a copy of this software and associated documentation files (the “Software”),
to deal in the Software without restriction, including without limitation
the rights to use, copy, modify, merge, publish, distribute, sublicense,
and/or sell copies of the Software, and to permit persons to whom the
Software is furnished to do so, subject to the following conditions:

The above copyright notice and this permission notice shall be included in
all copies or substantial portions of the Software.

THE SOFTWARE IS PROVIDED “AS IS”, WITHOUT WARRANTY OF ANY KIND,
EXPRESS OR IMPLIED, INCLUDING BUT NOT LIMITED TO THE WARRANTIES OF
MERCHANTABILITY, FITNESS FOR A PARTICULAR PURPOSE AND NONINFRINGEMENT.
IN NO EVENT SHALL THE AUTHORS OR COPYRIGHT HOLDERS BE LIABLE FOR ANY
CLAIM, DAMAGES OR OTHER LIABILITY, WHETHER IN AN ACTION OF CONTRACT,
TORT OR OTHERWISE, ARISING FROM, OUT OF OR IN CONNECTION WITH THE SOFTWARE
OR THE USE OR OTHER DEALINGS IN THE SOFTWARE.
*/

// ---START OF OLED STUFF---
#include <Adafruit_SSD1306.h> // Library for the OLED
#include <Adafruit_GFX.h>

#define SCREEN_WIDTH 128 // OLED display width, in pixels
#define SCREEN_HEIGHT 64 // OLED display height, in pixels
#define OLED_RESET     -1 // Reset pin # (or -1 if sharing Arduino reset pin)

#define SCREEN_ADDRESS 0x3C //Use an i2c scanner to get your display address 0x3C was mine

// This line will take all our data from above and apply it to the Adafruit Library
Adafruit_SSD1306 display(SCREEN_WIDTH, SCREEN_HEIGHT, &Wire, OLED_RESET);
// ---END OF OLED STUFF---

// ---START OF DHT SENSOR STUFF
#include "DHT.h" //DHT sensor library needed to interface with it
// Uncomment whatever type you're using!
#define DHTTYPE DHT11   // DHT 11
//#define DHTTYPE DHT22   // DHT 22  (AM2302), AM2321
//#define DHTTYPE DHT21   // DHT 21 (AM2301)

#define DHTPIN 2 //connect this pin to the data pin of your DHT

// Initialize DHT sensor.
DHT dht(DHTPIN, DHTTYPE);
// ---END OF DHT SENSOR STUFF---

void setup() {

  // This line will start the OLED working, you need this
  display.begin(SSD1306_SWITCHCAPVCC, SCREEN_ADDRESS);
  display.clearDisplay(); // Remove the garbage data from the buffer
  display.display(); // Display an empty screen

  // DHT initialization
  dht.begin();

}

void loop() {

  // Short delay to make sure we aren't asking too much of our sensors/code
  // And to let everything stabilize - feel free to use "without delay"
  delay(2000);

  // ---DHT STUFF---
  float h = dht.readHumidity(); // Create a variable called "h" and read the humidity to it
  float t = dht.readTemperature(); // Create a variable called "t" and read the temperature to it
  // ---END OF DHT STUFF---

  // ---DISPLAYING OUR SENSOR---
  display.clearDisplay(); // Clearing all the stuff on the screen
  display.setTextSize(2); // 2:1 pixel scale for larger text
  display.setTextColor(SSD1306_WHITE); // White text -needed-
  display.setCursor(33,0); // Pixels X, Y to start the text
  display.println(F("DHT11")); // Write the word "DHT11" into the buffer
  display.setCursor(0,20); // Pixels X, Y to start the text
  display.print(F("T: ")); // Write the characters to the screen
  display.setCursor(30,20); // Pixels X, Y to start the text
  display.print(t); // Write the value of "t"
  display.setCursor(90,20); // Pixels X, Y to start the text
  display.print(F("*C")); // Write the characters to the screen
  display.setCursor(0,40); // Pixels X, Y to start the text
  display.print(F("H: ")); // Write the characters to the screen
  display.setCursor(30,40); // Pixels X, Y to start the text
  display.print(h); // Write the value of "h"
  display.setCursor(90,40); // Pixels X, Y to start the text
  display.print(F("%")); // Write the characters to the screen
  display.display(); // Write to the screen (display the buffer)
  // ---END OF DISPLAYING OUR SENSOR---

}
DHT-22
/*
This code will grab sensor data from a DHT-22 with its
specific protocol and display it on a SSD1306 128x64 i2c OLED.
This has been tested on a RP2040-Zero on 07/09/2025 and was
working as intended.

Pinout:
 --- DHT-22 ---
   _______
   |      |
   |DHT-22|
   |      |
   --------
    | | | |
    1 2 3 4

Pin 1 = 3.3V (3v3 pin - RP2040-Zero's internal regulator)
Pin 2 = GP8
Pin 3 = N/C - no connection, this pin does nothing
*Note* a 10k pull-up resistor might be needed on GP8
       the one I tested had one built into the module
*Note 2* You may have a 3-pin module with a DHT-22 soldered to
        it already - if so, just match the silkscreen to your micro

 --- OLED ---
VCC = 3.3V (3v3 pin - RP2040-Zero's internal regulator)
GND = GND (GND pin on RP2040-Zero)
SCL = GP5 (default)
SDA = GP4 (default)

This code is written by Dan from the Simple Electronics YouTube
channel and is mostly a mashup of library examples and has been
over-commented to be beginner-friendly for all to use.
https://www.youtube.com/SimpleElectronics

The code contributed by Dan is open-source under the MIT Licence
however, the libraries retain their own licensing

Copyright <2025> <Dan, Simple Electronics>

Permission is hereby granted, free of charge, to any person obtaining
a copy of this software and associated documentation files (the “Software”),
to deal in the Software without restriction, including without limitation
the rights to use, copy, modify, merge, publish, distribute, sublicense,
and/or sell copies of the Software, and to permit persons to whom the
Software is furnished to do so, subject to the following conditions:

The above copyright notice and this permission notice shall be included in
all copies or substantial portions of the Software.

THE SOFTWARE IS PROVIDED “AS IS”, WITHOUT WARRANTY OF ANY KIND,
EXPRESS OR IMPLIED, INCLUDING BUT NOT LIMITED TO THE WARRANTIES OF
MERCHANTABILITY, FITNESS FOR A PARTICULAR PURPOSE AND NONINFRINGEMENT.
IN NO EVENT SHALL THE AUTHORS OR COPYRIGHT HOLDERS BE LIABLE FOR ANY
CLAIM, DAMAGES OR OTHER LIABILITY, WHETHER IN AN ACTION OF CONTRACT,
TORT OR OTHERWISE, ARISING FROM, OUT OF OR IN CONNECTION WITH THE SOFTWARE
OR THE USE OR OTHER DEALINGS IN THE SOFTWARE.
*/

// ---START OF OLED STUFF---
#include <Adafruit_SSD1306.h> //L ibrary for the OLED
#include <Adafruit_GFX.h>

#define SCREEN_WIDTH 128 // OLED display width, in pixels
#define SCREEN_HEIGHT 64 // OLED display height, in pixels
#define OLED_RESET     -1 // Reset pin # (or -1 if sharing Arduino reset pin)

#define SCREEN_ADDRESS 0x3C //Use an i2c scanner to get your display address 0x3C was mine

//This line will take all our data from above and apply it to the Adafruit Library
Adafruit_SSD1306 display(SCREEN_WIDTH, SCREEN_HEIGHT, &Wire, OLED_RESET);
// ---END OF OLED STUFF---

// ---START OF DHT SENSOR STUFF
#include "DHT.h" //DHT sensor library needed to interface with it
// Uncomment whatever type you're using!
//#define DHTTYPE DHT11   // DHT 11
#define DHTTYPE DHT22   // DHT 22  (AM2302), AM2321
//#define DHTTYPE DHT21   // DHT 21 (AM2301)

#define DHTPIN 8 //connect this pin to the data pin of your DHT

// Initialize DHT sensor.
DHT dht(DHTPIN, DHTTYPE);
// ---END OF DHT SENSOR STUFF---

void setup() {

  // This line will start the OLED working, you need this
  display.begin(SSD1306_SWITCHCAPVCC, SCREEN_ADDRESS);
  display.clearDisplay(); // Remove the garbage data from the buffer
  display.display(); // Display an empty screen

  // DHT initialization
  dht.begin();

}

void loop() {

  // Short delay to make sure we aren't asking too much of our sensors/code
  // And to let everything stabilize - feel free to use "without delay"
  delay(2000);

  // ---DHT STUFF---
  float h = dht.readHumidity(); // Create a variable called "h" and read the humidity to it
  float t = dht.readTemperature(); // Create a variable called "t" and read the temperature to it
  // ---END OF SHT STUFF---

  // ---DISPLAYING OUR SENSOR---
  display.clearDisplay(); // Clearing all the stuff on the screen
  display.setTextSize(2); // 2:1 pixel scale for larger text
  display.setTextColor(SSD1306_WHITE); // White text -needed-
  display.setCursor(33,0); // Pixels X, Y to start the text
  display.println(F("DHT22")); // Write the word "DHT11" into the buffer
  display.setCursor(0,20); // Pixels X, Y to start the text
  display.print(F("T: ")); // Write the characters to the screen
  display.setCursor(30,20); // Pixels X, Y to start the text
  display.print(t); // Write the value of "t"
  display.setCursor(90,20); // Pixels X, Y to start the text
  display.print(F("*C")); // Write the characters to the screen
  display.setCursor(0,40); // Pixels X, Y to start the text
  display.print(F("H: ")); // Write the characters to the screen
  display.setCursor(30,40); // Pixels X, Y to start the text
  display.print(h); // Write the value of "h"
  display.setCursor(90,40); // Pixels X, Y to start the text
  display.print(F("%")); // Write the characters to the screen
  display.display(); // Write to the screen (display the buffer)
  // ---END OF DISPLAYING OUR SENSOR---

}
BMP280
/*
This code will grab sensor data from a BMP280 in i2c mode and
display it on a SSD1306 128x64 i2c OLED. This has been tested
on a RP2040-Zero on 02/09/2025 and was working as intended.

Pinout:
 --- BMP280 ---
VCC = 3.3V (3v3 pin - RP2040-Zero's internal regulator)
GND = GND (GND pin on RP2040-Zero)
SCL = GP5 (default)
SDA = GP4 (default)

 --- OLED ---
VCC = 3.3V (3v3 pin - RP2040-Zero's internal regulator)
GND = GND (GND pin on RP2040-Zero)
SCL = GP5 (default)
SDA = GP4 (default)

This code is written by Dan from the Simple Electronics YouTube
channel and is mostly a mashup of library examples and has been
over-commented to be beginner-friendly for all to use.
https://www.youtube.com/SimpleElectronics

The code contributed by Dan is open-source under the MIT Licence
however, the libraries retain their own licensing

Copyright <2025> <Dan, Simple Electronics>

Permission is hereby granted, free of charge, to any person obtaining
a copy of this software and associated documentation files (the “Software”),
to deal in the Software without restriction, including without limitation
the rights to use, copy, modify, merge, publish, distribute, sublicense,
and/or sell copies of the Software, and to permit persons to whom the
Software is furnished to do so, subject to the following conditions:

The above copyright notice and this permission notice shall be included in
all copies or substantial portions of the Software.

THE SOFTWARE IS PROVIDED “AS IS”, WITHOUT WARRANTY OF ANY KIND,
EXPRESS OR IMPLIED, INCLUDING BUT NOT LIMITED TO THE WARRANTIES OF
MERCHANTABILITY, FITNESS FOR A PARTICULAR PURPOSE AND NONINFRINGEMENT.
IN NO EVENT SHALL THE AUTHORS OR COPYRIGHT HOLDERS BE LIABLE FOR ANY
CLAIM, DAMAGES OR OTHER LIABILITY, WHETHER IN AN ACTION OF CONTRACT,
TORT OR OTHERWISE, ARISING FROM, OUT OF OR IN CONNECTION WITH THE SOFTWARE
OR THE USE OR OTHER DEALINGS IN THE SOFTWARE.
*/

// --- START OF BMP280 STUFF ---
#include <Wire.h> // Library for communications
#include <Adafruit_BMP280.h> // Library for the BMP280
Adafruit_BMP280 bmp; // Needed for the BMP280 to work
// ---END OF BMP280 STUFF---

// --- START OF OLED STUFF ---
#include <Adafruit_SSD1306.h> // Library for the OLED
#include <Adafruit_GFX.h> // Styling library for the OLED

#define SCREEN_WIDTH 128 // OLED display width, in pixels
#define SCREEN_HEIGHT 64 // OLED display height, in pixels
#define OLED_RESET     -1 // Reset pin # (or -1 if sharing Arduino reset pin)

#define SCREEN_ADDRESS 0x3C // Use an i2c scanner to get your display address, 0x3C was mine

// This line will take all our data from above and apply it to the Adafruit Library
Adafruit_SSD1306 display(SCREEN_WIDTH, SCREEN_HEIGHT, &Wire, OLED_RESET);
// ---END OF OLED STUFF---

void setup() {

  // Replace the contents in the parenthesis with your sensor's address
  // Default is 0x76 or 0x77
  // Use an i2c scanner if either of those don't work
  bmp.begin(0x76);

  //This line will start the OLED working, you need this
  display.begin(SSD1306_SWITCHCAPVCC, SCREEN_ADDRESS);
  display.clearDisplay(); // Remove the garbage data from the buffer
  display.display(); // Display an empty screen

}

void loop() {

  // Short delay to make sure we aren't asking too much of our sensors/code
  // And to let everything stabilize - feel free to use "without delay"
  delay(1000);

  // Get the temperature data and store it in a variable called "temp"
  float temp = bmp.readTemperature();
  // Get the pressure data and store it in a variable called "pressure"
  // Divide the pressure data by 100 to get hPa instead of kPa
  float press = bmp.readPressure() / 100.0; // pressure in hPa

  // --- DISPLAYING OUR SENSOR DATA ---
  display.clearDisplay(); // Clearing all the stuff on the screen
  display.setTextSize(2); // 2:1 pixel scale for nice big text
  display.setTextColor(SSD1306_WHITE); // White text (needed)
  display.setCursor(2,10); // Pixels X, Y to start writing
  display.println(temp); // Write the value of "temp" into the buffer
  display.setCursor(71,10); // Pixels X, Y to start writing
  display.println(F("C")); // Add a "C" to represent Celcius
  display.setCursor(2,43); // Pixels X, Y to start writing
  display.println(press); // Write the value of "press" into the buffer
  display.setCursor(92,43); // Pixels X, Y to start writing
  display.println(F("hPa")); // Write a "hPA" to represent
  display.display(); // Send the buffer to the screen and display it
  // --- END OF DISPLAYING SENSOR DATA ---
}
Dallas DS18B20
/*
This code will grab sensor data from a Dallas 18B20 with its
OneWire protocol and display it on a SSD1306 128x64 i2c OLED.
This has been tested on a RP2040-Zero on 07/09/2025 and was
working as intended.

Pinout:
 --- 18B20 ---
   ______
   |     |
   |18B20|
   -------
   |  |  |
   1  2  3
Pin 1 = GND (GND pin on RP2040-Zero)
Pin 2 = GP3
Pin 3 = 3.3V (3v3 pin - RP2040-Zero's internal regulator)
*Note* a 4.7k pull-up resistor might be needed on GP3
       the one I tested had one built into the module

 --- OLED ---
VCC = 3.3V (3v3 pin - RP2040-Zero's internal regulator)
GND = GND (GND pin on RP2040-Zero)
SCL = GP5 (default)
SDA = GP4 (default)

This code is written by Dan from the Simple Electronics YouTube
channel and is mostly a mashup of library examples and has been
over-commented to be beginner-friendly for all to use.
https://www.youtube.com/SimpleElectronics

The code contributed by Dan is open-source under the MIT Licence
however, the libraries retain their own licensing

Copyright <2025> <Dan, Simple Electronics>

Permission is hereby granted, free of charge, to any person obtaining
a copy of this software and associated documentation files (the “Software”),
to deal in the Software without restriction, including without limitation
the rights to use, copy, modify, merge, publish, distribute, sublicense,
and/or sell copies of the Software, and to permit persons to whom the
Software is furnished to do so, subject to the following conditions:

The above copyright notice and this permission notice shall be included in
all copies or substantial portions of the Software.

THE SOFTWARE IS PROVIDED “AS IS”, WITHOUT WARRANTY OF ANY KIND,
EXPRESS OR IMPLIED, INCLUDING BUT NOT LIMITED TO THE WARRANTIES OF
MERCHANTABILITY, FITNESS FOR A PARTICULAR PURPOSE AND NONINFRINGEMENT.
IN NO EVENT SHALL THE AUTHORS OR COPYRIGHT HOLDERS BE LIABLE FOR ANY
CLAIM, DAMAGES OR OTHER LIABILITY, WHETHER IN AN ACTION OF CONTRACT,
TORT OR OTHERWISE, ARISING FROM, OUT OF OR IN CONNECTION WITH THE SOFTWARE
OR THE USE OR OTHER DEALINGS IN THE SOFTWARE.
*/

// --- START OF OLED STUFF ---
#include <Adafruit_SSD1306.h> // Library for the OLED
#include <Adafruit_GFX.h> // Styling library for the OLED

#define SCREEN_WIDTH 128 // OLED display width, in pixels
#define SCREEN_HEIGHT 64 // OLED display height, in pixels
#define OLED_RESET     -1 // Reset pin # (or -1 if sharing Arduino reset pin)

#define SCREEN_ADDRESS 0x3C // Use an i2c scanner to get your display address, 0x3C was mine

// This line will take all our data from above and apply it to the Adafruit Library
Adafruit_SSD1306 display(SCREEN_WIDTH, SCREEN_HEIGHT, &Wire, OLED_RESET);
// --- END OF OLED STUFF ---

// --- START OF DALLAS SENSOR STUFF ---
#include <OneWire.h> // OneWire library for comms with the Dallas sensors
#include <DallasTemperature.h> // The specific Dallas sensor library

// Define the pin the Dallas sensor's data pin is connected to
#define ONE_WIRE_BUS 3 // GP3

// Setup a oneWire instance to communicate with any OneWire devices (not just Maxim/Dallas temperature ICs)
OneWire oneWire(ONE_WIRE_BUS);

// Pass our oneWire reference to Dallas Temperature library.
DallasTemperature sensors(&oneWire);

// --- END OF THE DALLAS SENSOR STUFF ---

void setup() {

  // This line will start the OLED working, you need this
  display.begin(SSD1306_SWITCHCAPVCC, SCREEN_ADDRESS);
  display.clearDisplay(); // Remove the garbage data from the buffer
  display.display(); // Display an empty screen

  // This line starts up the library for the Dallas sensor
  sensors.begin();
}

void loop() {

  // Short delay to make sure we aren't asking too much of our sensors/code
  // And to let everything stabilize - feel free to use "without delay"
  delay(1000);

  // Request temperature data from the sensor(s)
  sensors.requestTemperatures();
  // Create a variable called "tempC" and request temperature data in Celcus
  // from the first sensor (position 0) and store it in "tempC"
  float tempC = sensors.getTempCByIndex(0);

  // ---DISPLAYING OUR SENSOR---
  display.clearDisplay(); // Clearing all the stuff on the screen
  display.setTextSize(2); // 2:1 pixel scale for larger text
  display.setTextColor(SSD1306_WHITE); // White text -needed-
  display.setCursor(20,10); // Pixels X, Y to start the text
  display.println(tempC); // Write the value of "tempC" into the buffer
  display.setCursor(85,10); // Pixels X, Y to start the text
  display.println(F("*C")); // Display an asterix instead of a degree symbol and a C for Celcius
  display.display(); // Send the buffer to the display (draw the display on screen)
  // ---END OF DISPLAYING OUR SENSOR---
}
Case and GitHub
Check out the GitHub for the case and the code: GitHub